A language switcher is an option offered in WP Multilang, which helps users add an icon/option to their post/page to translate the whole content of the page according to their desired language
This tutorial will show how to add the language switcher option on pages/posts.
Step 1: First, install the WP Multilang plugin from here https://wordpress.org/plugins/wp-multilang/or go to add the plugin and search for “WP-Multilang“. Download the plugin and install it.
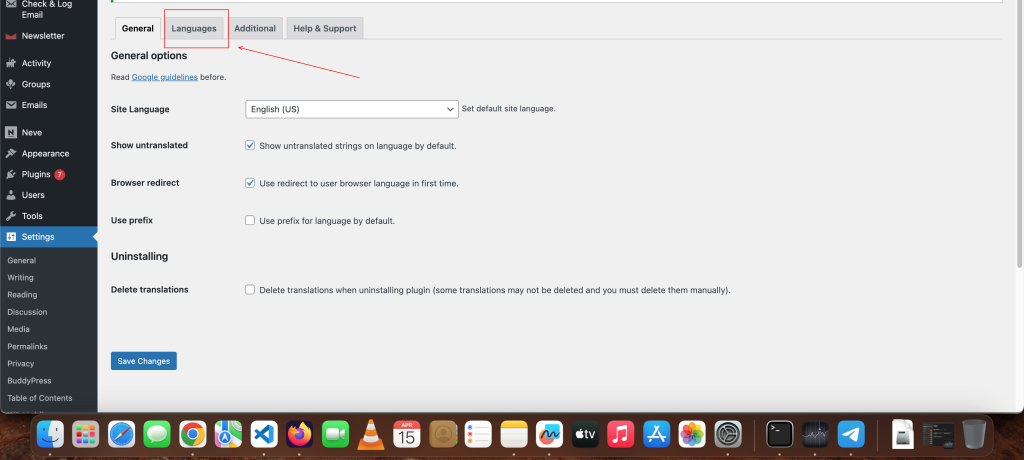
Step 2: Kindly make sure that the plugin is active on your end. Once that’s done, go to WP-Multilang settings and click on “Languages“.
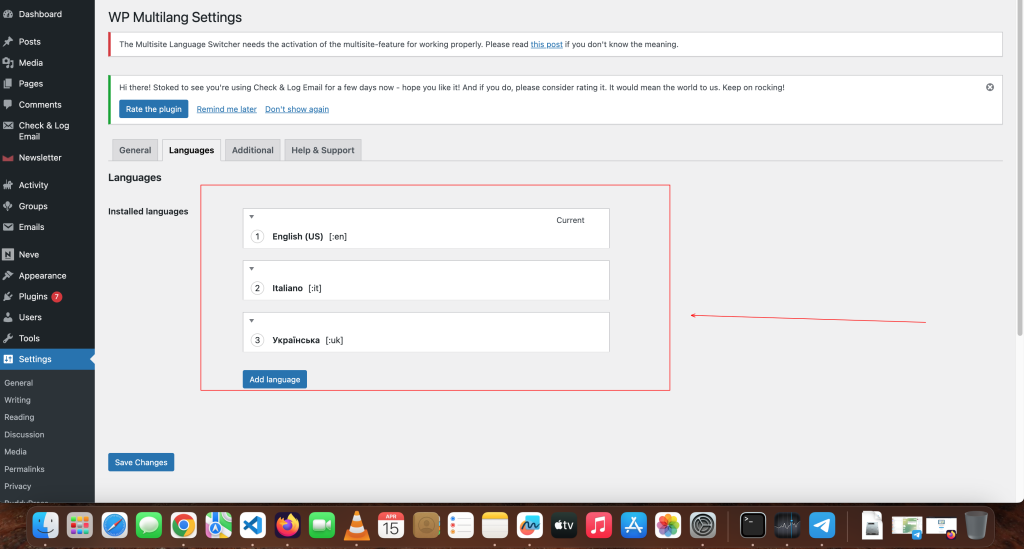
Step 3: Add languages according to your preferences. You can add multiple languages.
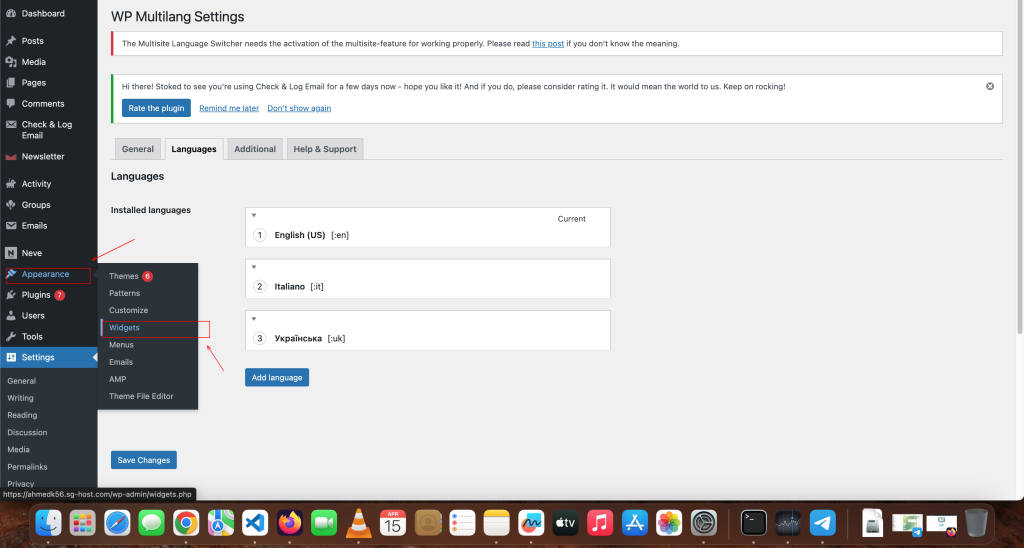
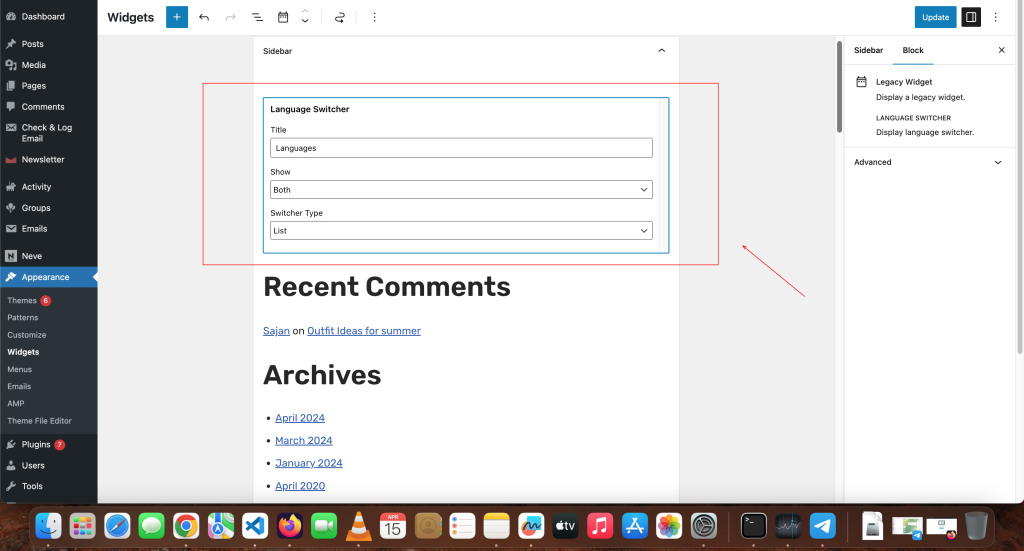
Step 4: Once you are done adding your language, click on “Appearance” and go to “Widgets“.
Step 5: You can click on this option and search for a switcher. Simply type “language switcher” and it will appear there.
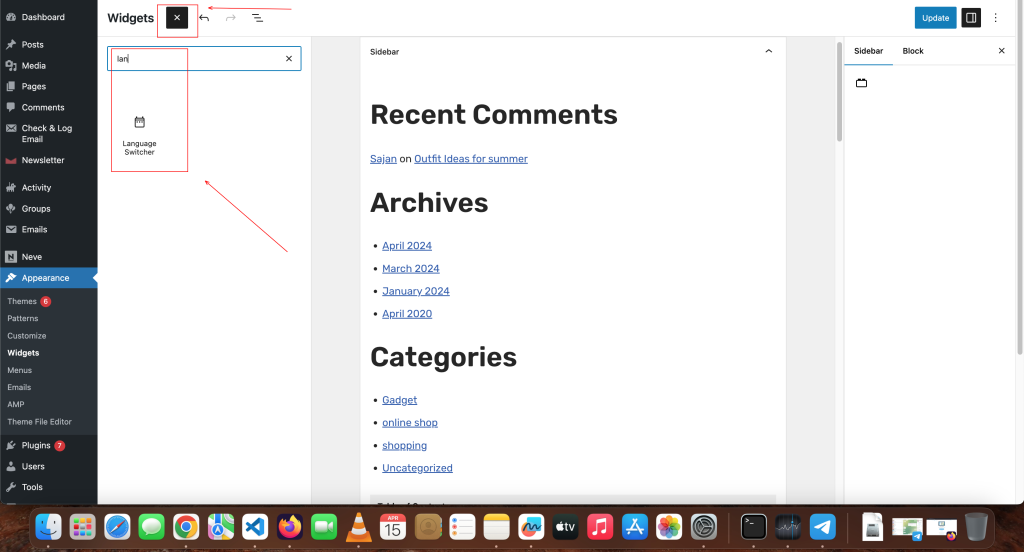
Step 6: You can add or drag this option to the sidebar. After that, you can adjust the settings according to your preference. Once you’re finished, click on “Update”.
You will find the language switcher option on your post/page. By clicking on this option, you will be able to access other languages for translating the content.
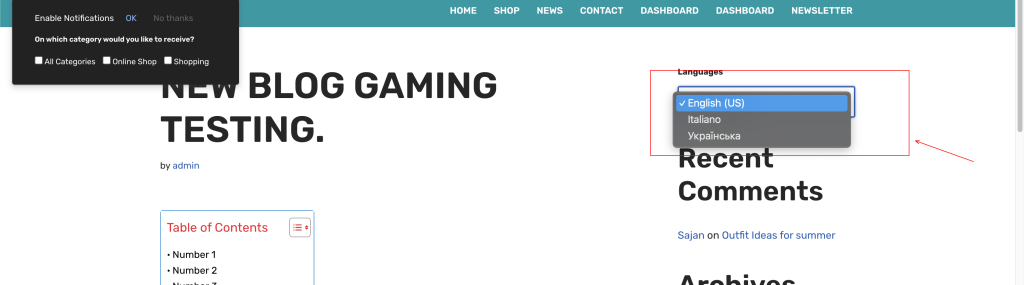
In this way, you can add this option on your end.