WP-multilang is the best plugin for translating a normal site into a multilingual site. It’s easy to use and much lighter compared to other plugins. Additionally, its Pro Features offer compatibility with Elementor Pro, and new features will be added in the future.
In this tutorial we will see how to download and install WP- Multilang.
Normal Installation.
Step 1: First, install the WP Multilang plugin from here https://wordpress.org/plugins/wp-multilang/or go to add the plugin and search for “WP-Multilang“. Download the plugin and install it.
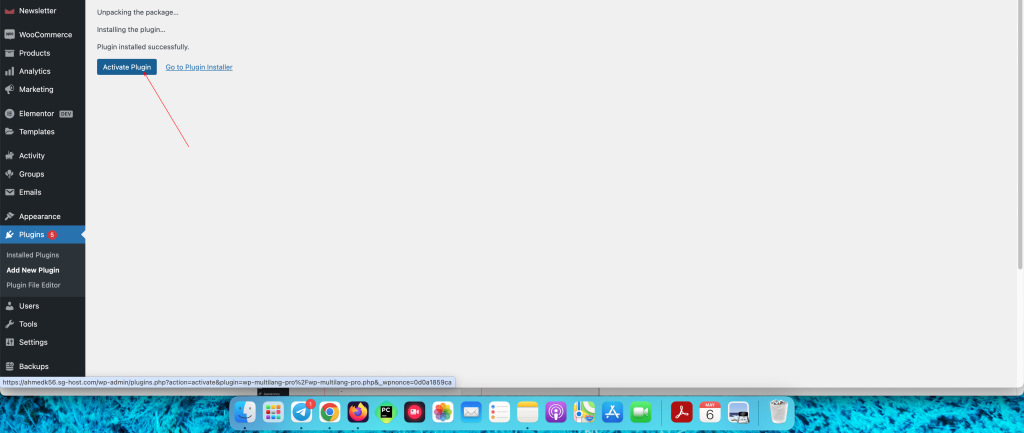
Step 2: Once you will install the plugin kindly activate it.

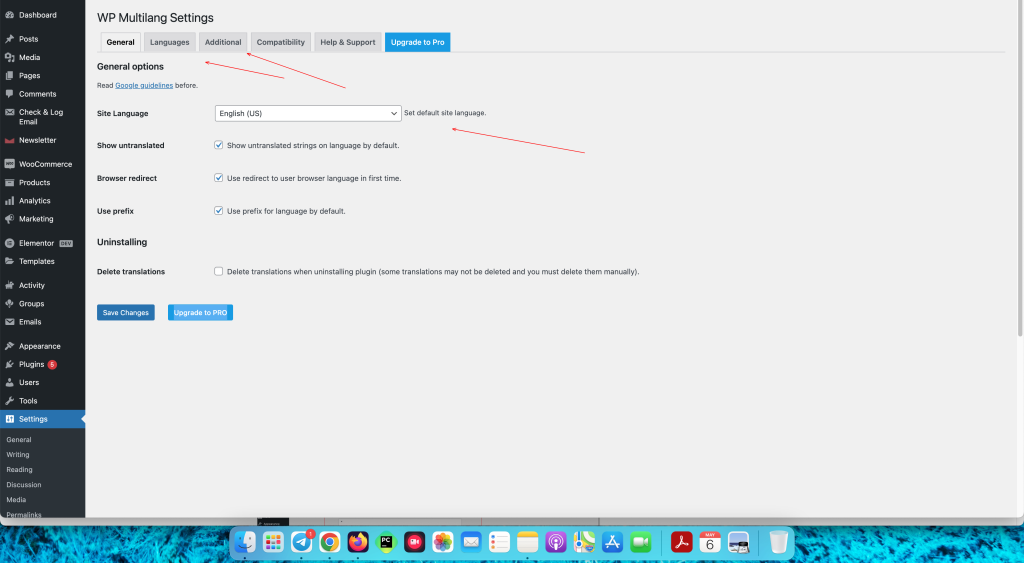
Step 3: Once you will activate you will get a dashboard with multiple option so you can setup according to your choice.
WP Multilang PRO Version:
Step 1: Go to the WP Multilang PRO website. Create your account and complete the whole process.
Step 2: Once you will get done with whole process , you will get an option to download WP-Multilang Pro zip file. Click on download.
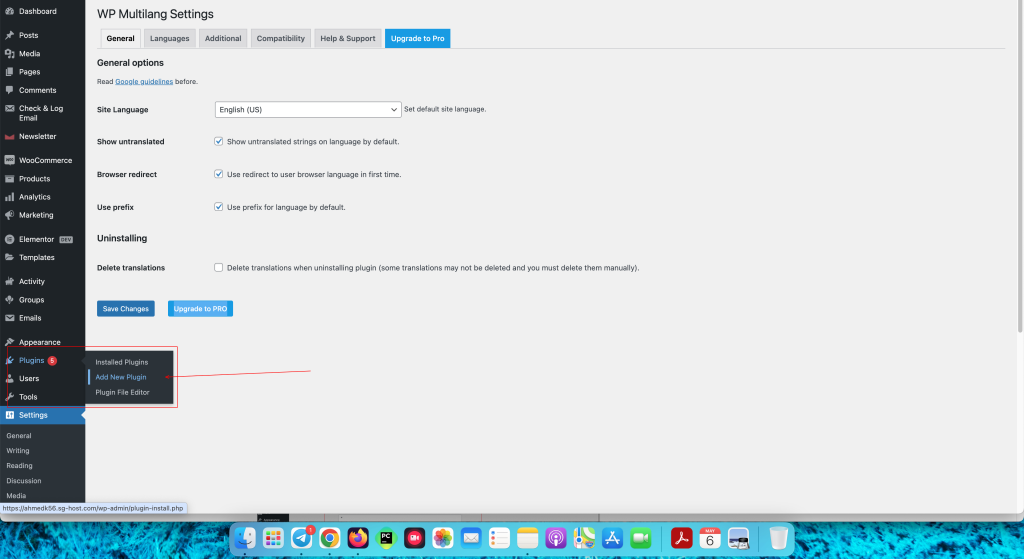
Step 3: Go to the WordPress, Click on “Plugin” and click on “Add New Plugin” option.
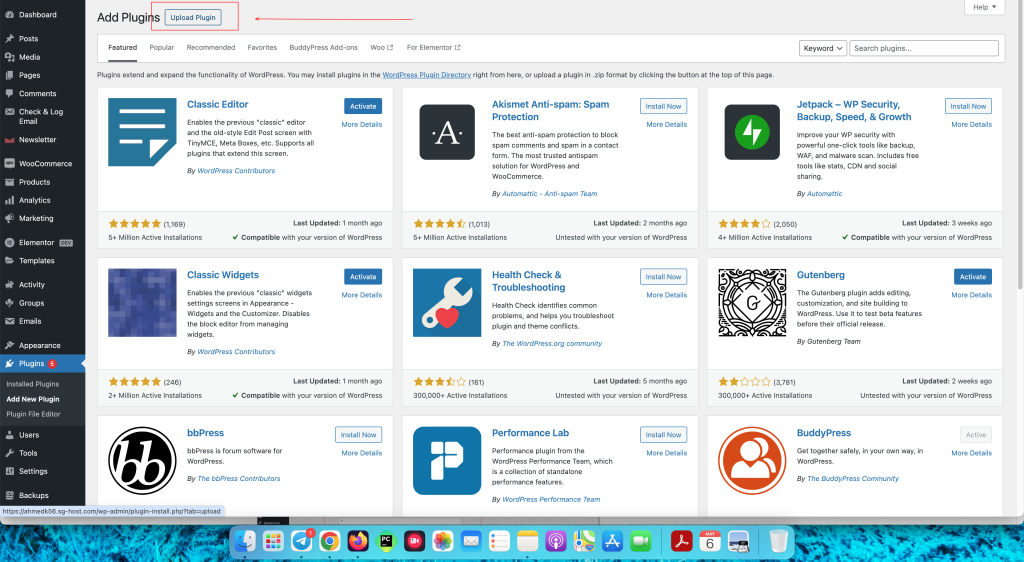
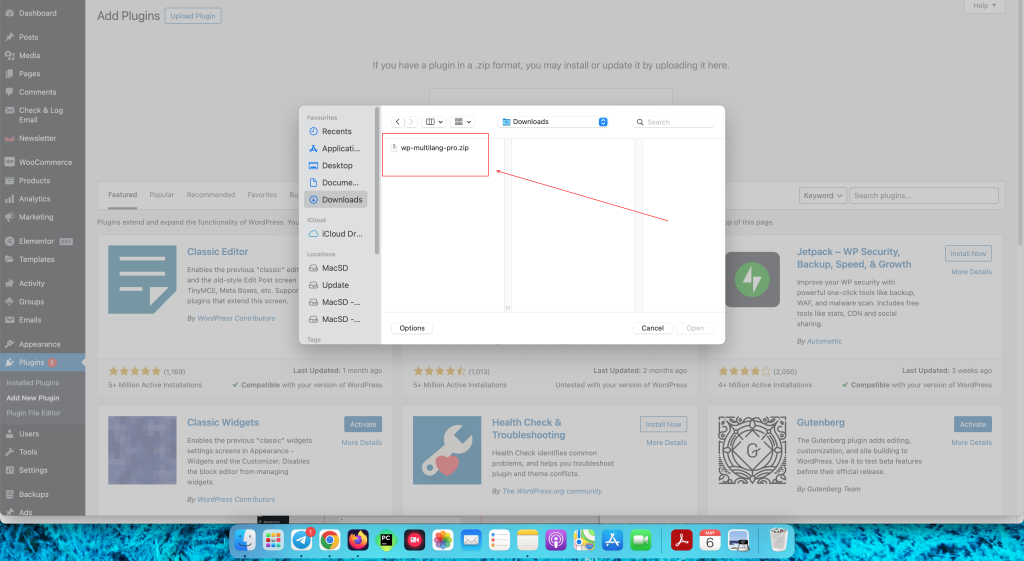
Step 4: Next step you will get an option to Upload the Plugin. Now click on that and upload the “Pro Zip ” file.
Step 5 : Click on Install and Activate the plugin.
Step 6: Now go to plugin and you will ask the License Key. Add your license key there and activate. Check your registered email or download page. For Example, License key: 7edXXXXXXXXXXXXXX68c999cf.
WP-Multilang Pro version:

In this way you can install the plugin. Need more help please fill the below form.